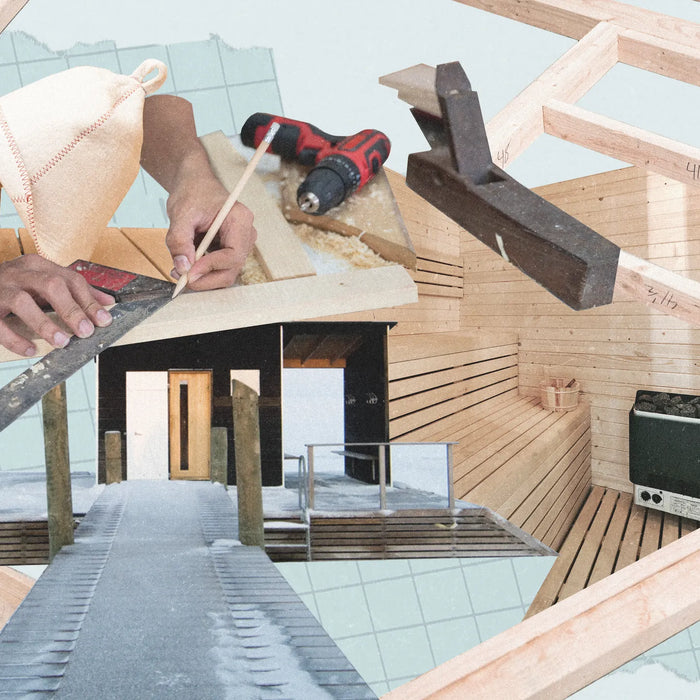
Building a home sauna is a dream for many health enthusiasts, offering a sanctuary for relaxation and wellness right in the comfort of your home. With DIY sauna kits, this dream is more accessible than ever. This comprehensive guide will walk you through everything you need to know about DIY sauna kits, from selecting the right one to step-by-step installation instructions. Whether you’re a seasoned DIYer or a complete novice, this masterclass will provide you with all the information you need to build your dream home sauna.
Benefits of Having a Home Sauna
Before diving into the details of DIY sauna kits, let's briefly explore the benefits of having a home sauna:
-
Convenience: Enjoy the luxury of a sauna session anytime without leaving your home.
-
Health Benefits: Regular sauna use can improve cardiovascular health, detoxify the body, enhance skin health, relieve stress, and promote overall well-being.
-
Privacy: Experience the relaxation and health benefits of a sauna in the privacy of your own home.
Choosing the Right DIY Sauna Kit
Selecting the right DIY sauna kit is crucial to ensure a successful and satisfying build. Here are some factors to consider:
1. Size and Space
Considerations:
-
Available Space: Measure the area where you plan to install the sauna to ensure the kit fits perfectly.
-
Capacity: Decide how many people you want your sauna to accommodate. DIY sauna kits range from small, one-person units to larger models that can fit multiple people.
2. Type of Sauna
Types:
-
Traditional Saunas: Use electric or wood-burning heaters to produce high temperatures and low humidity.
-
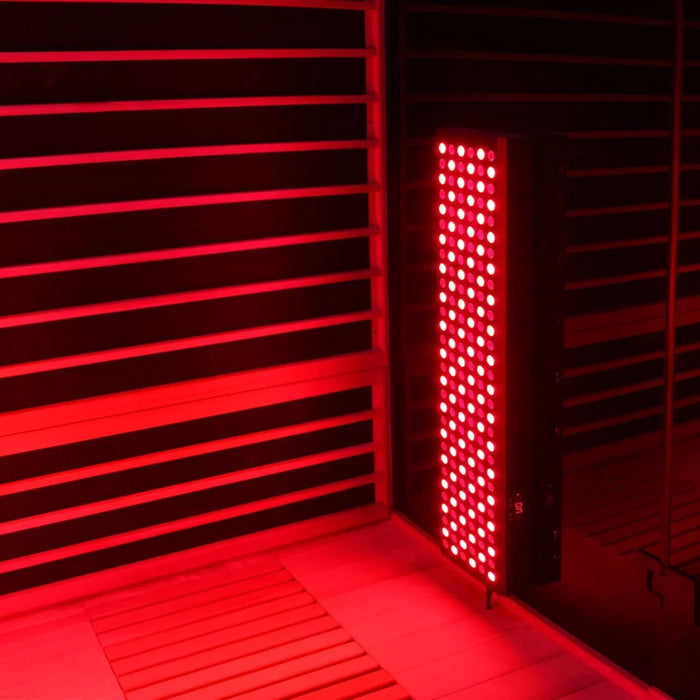
Infrared Saunas: Use infrared heaters to emit radiant heat, which is absorbed directly by the body.
-
Hybrid Saunas: These incredible models include both infrared heating panels and a traditional stove so you can switch between two different heat sources as you please.
-
Portable Saunas: Lightweight and easy to set up, ideal for limited spaces or temporary use.
Learn More: Explore a variety of saunas available at Haven Of Heat.
3. Material and Quality
Materials:
-
Wood Types: Common choices include cedar, aspen, hemlock, and spruce. Cedar is popular for its durability and pleasant aroma. Thermally modified lumbers are incredible for natural durability as well.
4. Heating System
Types:
-
Electric Heaters: Easy to use and maintain, ideal for most home installations.
-
Wood-Burning Heaters: Provide a traditional sauna experience but require proper ventilation.
-
Infrared Heaters: Efficient and quick to heat, perfect for infrared saunas.
5. Budget
Considerations:
-
Cost: DIY sauna kits range in price based on size, materials, and features. Set a budget and find a kit that offers the best value within your range.
-
Additional Costs: Factor in costs for installation, electrical work, and any additional accessories.
Top DIY Sauna Kits
Here are some top-rated DIY sauna kits to consider for your home sauna project:
-
Haven Of Heat Traditional Sauna Kits: Offers a complete package with high-quality pre-cut lumber, an electric or wood burning heater, and easy-to-follow instructions. Shop Now
-
Haven Of Heat Infrared Sauna Kits: Ideal for those looking for a quick and efficient heating option, featuring top-of-the-line infrared panels. Shop Now
-
Haven Of Heat Hybrid Sauna Kits: Enjoy the comforting heat from the powerful electric sauna heaters while the full spectrum infrared heating elements provide deep, penetrating heat to soothe your muscles and joints. Shop Now
Preparing for Installation
Before you start assembling your DIY sauna kit, ensure you have the following preparations in place:
1. Permits and Regulations
-
Check Local Regulations: Verify if you need any permits or if there are specific building codes for sauna installation in your area.
-
Homeowner’s Association (HOA): If you live in a community with an HOA, check for any restrictions or guidelines.
2. Tools and Equipment
Essential Tools:
- Measuring tape
- Level
- Screwdriver set
- Power drill
- Hammer
- Saw (if adjustments are needed)
- Safety gear (gloves, goggles)
3. Electrical Work
Considerations:
-
Professional Installation: For electric saunas, hire a licensed electrician to install the wiring and ensure it meets safety standards.
-
Power Supply: Ensure you have the appropriate power supply and outlets for your sauna heater.
Step-by-Step Installation Guide
1. Unpacking and Inventory
-
Unpack the Kit: Carefully unpack all components and verify that you have all the parts listed in the instruction manual.
-
Inspect for Damage: Check for any damage during shipping and contact the supplier if you find any issues.
2. Preparing the Space
-
Clean the Area: Ensure the installation area is clean and free of debris.
-
Level the Floor: Make sure the floor is level to ensure stability and proper alignment of the sauna.
3. Assembling the Frame
Steps:
-
Lay Out the Base: Assemble the base frame according to the instructions.
-
Build the Walls: Attach the wall panels to the base frame, ensuring they are level and securely fastened.
-
Install the Ceiling: Once the walls are in place, attach the ceiling panel.
4. Installing the Benches and Heater
Steps:
-
Attach the Benches: Install the benches inside the sauna, following the manufacturer’s guidelines.
-
Mount the Heater: Install the heater according to the instructions. For electric heaters, ensure the electrical connections are made by a licensed electrician.
5. Final Touches
Steps:
-
Install Doors and Windows: Attach the door and any windows, ensuring they are properly aligned and sealed.
-
Seal the Sauna: Apply any necessary sealants to ensure the sauna is airtight and retains heat efficiently.
-
Test the Sauna: Once assembled, test the sauna to ensure it heats up correctly and there are no issues with the installation.
Maintenance and Care
To keep your home sauna in top condition, follow these maintenance tips:
-
Regular Cleaning: Wipe down the benches, walls, and floor after each use to prevent mold and mildew.
-
Inspect the Heater: Regularly check the heater for any signs of wear or malfunction and clean the heating elements as needed.
-
Ventilation: Ensure proper ventilation to avoid moisture buildup, which can damage the wood and create an unhealthy environment.
-
Wood Treatment: Periodically treat the wood with a suitable sauna wood preservative to maintain its appearance and longevity.
Enhancing Your Sauna Experience
Consider adding these accessories to enhance your sauna experience:
-
Essential Oils: Add a few drops of essential oils to the water bucket for aromatherapy benefits.
-
Sauna Stones: Use sauna stones on the heater to improve heat distribution and create steam when water is poured over them.
-
Lighting: Install dimmable LED lights to create a relaxing ambiance.
-
Sound System: Add a waterproof sound system to enjoy music or guided meditation during your sauna sessions.
Conclusion
Building your dream home sauna with a DIY sauna kit is an achievable and rewarding project. By carefully selecting the right kit, preparing your space, and following detailed installation steps, you can create a personal wellness retreat that offers numerous health benefits. Whether you prefer a traditional sauna or an infrared model, Haven Of Heat offers a variety of high-quality saunas to suit your needs.
For the best DIY sauna kits and accessories, visit Haven Of Heat and start building your dream home sauna today.
FAQs
Q: How long does it take to assemble a DIY sauna kit? A: The time required varies depending on the size and complexity of the sauna kit. Generally, it can take anywhere from a few hours to a couple of days.
Q: Do I need professional help to install a DIY sauna kit? A: While many DIY sauna kits are designed for easy assembly, you may need professional help for electrical work to ensure safety and compliance with local codes.
Q: Can I install a sauna in a small space? A: Yes, there are compact DIY sauna kits available that are designed to fit in small spaces, such as bathrooms or closets.
Q: Are infrared saunas better than traditional saunas? A: Both types have their benefits. Infrared saunas heat the body directly and are known for quick heating and lower operating temperatures, while traditional saunas provide a more intense heat and are ideal for those who enjoy higher temperatures and steam.
Q: How do I maintain the wood in my sauna? A: Regularly clean the wood surfaces and treat them with a suitable sauna wood preservative. Ensure proper ventilation to prevent moisture buildup and damage.
Feel free to reach out with any other questions or if you need more detailed information on specific sauna models. Enjoy your new home sauna!


Leave a comment