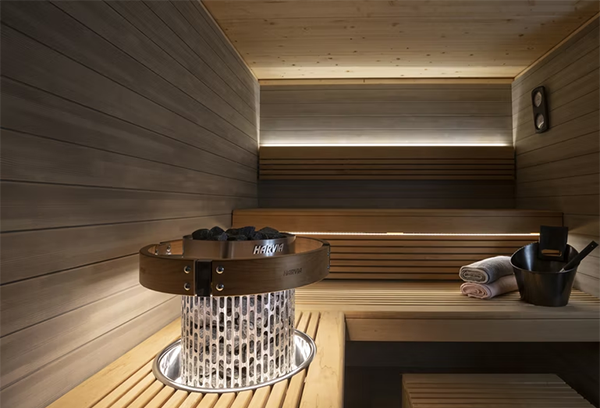
Building sauna benches might seem like a daunting task, but with the right guidance, it can be a rewarding and money saving DIY project. Whether you're aiming for a traditional sauna or infrared sauna, the quality of your benches will make all the difference in comfort and longevity. Let's dive into the essentials of constructing sauna benches that are not only functional but also aesthetically pleasing.
Want us to design your entire sauna for free (and provide all the materials)?
Materials for Sauna Benches
This is an area in the sauna where the right wood is crucial! Wood with knots can create 'hot spots' - hot enough to burn; and resin 'weeps' can be extremely painful (think sticky lava).
Splinters are decidedly 'undesirable' (It hurts even to think about it...). ‘Clear Cedar’, ‘Alder’, 'Aspen' or Thermo-Aspen are the woods of choice for sauna benches. Their silky smooth, cool, splinter and knot-free surfaces feel good against bare skin... and we suggest you don’t skimp where your personal sauna comfort is at stake! For those looking to speed up the process we offer a variety of prefabricated bench kits.
1. Cedar Wood
Cedar is a popular choice due to its natural resistance to moisture and decay. It also has a pleasant aroma that enhances the sauna experience (especially red cedar). It is however the most expensive lumber for the job.

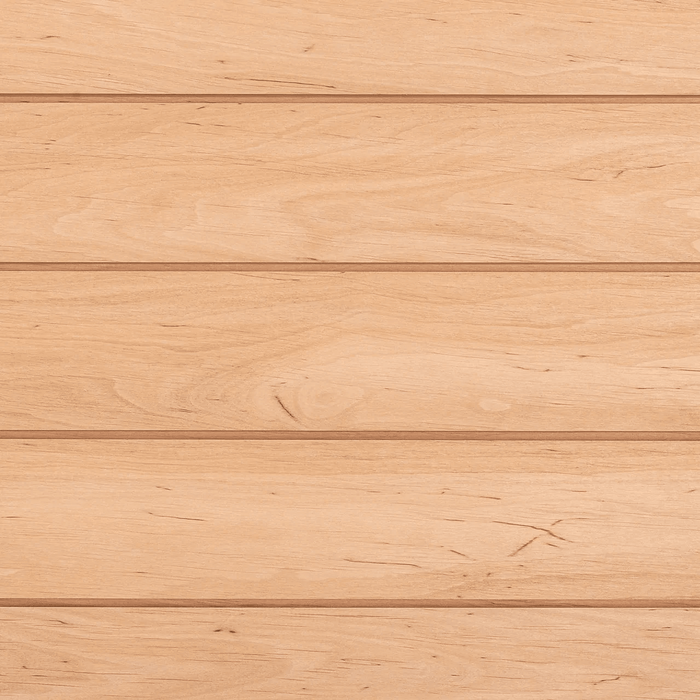
2. Aspen
Aspen or Thermo-Aspen is ideal for those who prefer a wood that doesn’t release sap and remains cool to the touch even in high temperatures. It is generally the most cost effective while still providing a very luxurious clear and smooth looking and feeling finish.
3. Alder
Alder is popular as a finishing material in saunas thanks to its reddish tone and pleasant texture. Alder is hardy and water-repellent, and it doesn’t overheat.
4. Hemlock
Hemlock is another excellent option, offering a smooth finish and being less prone to splintering. It’s a durable and cost-effective choice. It can appear a bit dull however so for this reason it is our #4 choice.

Design Tips for Sauna Benches
Designing sauna benches requires considering both functionality and comfort. Here are some tips to keep in mind:
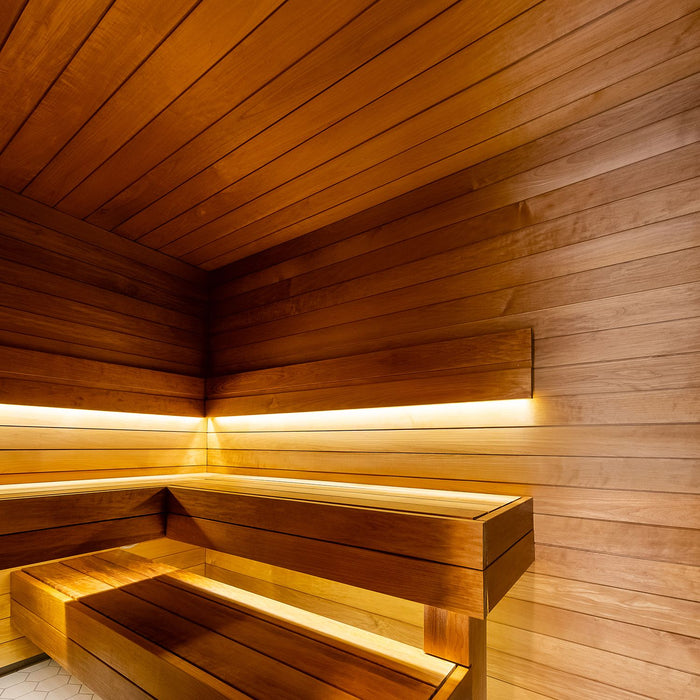
1. Bench Layout
Decide whether you want a single-tier or multi-tier bench layout. Multi-tiered benches allow users to enjoy different temperature zones within the sauna.
2. Ergonomic Design
Ensure the benches have rounded edges and a smooth finish to prevent discomfort. Consider adding backrests for additional support.
3. Ventilation
Incorporate gaps between the bench slats to promote air circulation and prevent moisture buildup.
4. Sizes
Sitting benches have a width of 20 inches; benches for lying down are 24-28 inches wide.
Attempt to incorporate at least one full-length reclining bench (usually a minimum of 75 inches).
If you only have space for a single bench, it is preferred to have a 1'+ raised floor or footrest to allow you to place that bench around 36" from the floor to get sauna users up where the heat is. Two-tier benches typically sit around 21 inches and 41 inches above the floor.
5. Installation
Ideally, benches should be screwed directly to the wall or rest on separate boards screwed to the walls at each end. If supports are needed, it is best to angle them from the bench lip back to the wall.
If they must go to the floor, they should be finished at their bottom ends so that any water on the sauna floor is not 'soaked up' - doing so will cause staining and eventually rot in the wood. Rubber or plastic 'buttons' can be obtained from hardware stores to assist with this.
6. Fasteners
Due to the moisture in a sauna, it is important to use stainless steel or exterior grade fasteners to avoid rust. It is important to avoid visible fasteners because they are unsightly and if they contact skin are hot enough to burn someone. For benches nail or screw from the underside. Avoid using any contact adhesives that can put out unhealthy fumes when heated.
7. Frame
A bench frame should be constructed with 2x3 or 2x4's and then planks of sauna bench wood are fastened to the top of the bench frame either in the long or short direction. Intermediate bench frame crossmembers should be added every 2 feet or so. Nail or screw from the underside of the bench to avoid visible fasteners from above or the front.

Step-by-Step Guide to Building Sauna Benches
Follow these steps to build your sauna benches:
Step 1: Measure and Plan
Start by measuring your sauna space and planning the layout of your benches. Sketch a design that includes dimensions and the number of benches.
Step 2: Gather Materials
Once you’ve finalized your design, gather all necessary materials and tools. This includes wood, screws, a saw, a drill, and sandpaper.
Step 3: Cut the Wood
Cut the wood according to your measurements. Ensure all pieces are smooth and free of splinters.
Step 4: Assemble the Frame
Construct the bench frame using sturdy wood beams. Secure the joints with screws and make sure the frame is level and stable.
Step 5: Attach the Slats
Attach the slats to the frame, leaving small gaps between each slat for ventilation. Sand any rough edges to ensure a smooth finish.
Step 6: Install the Benches
Place the assembled benches in your sauna. Ensure they are securely attached to the walls or floor to prevent movement.
Step 7: Finishing Touches
Apply a non toxic protective sealant (such as paraffin oil) to the wood to enhance its durability. Make sure to use a non-toxic sealant that is safe for high-heat environments.
Maintenance Tips
To keep your sauna benches in top condition, follow these maintenance tips:
-
Regular Cleaning: Wipe down the benches after each use to remove sweat and moisture.
-
Inspect for Damage: Periodically check for any signs of wear or damage and make necessary repairs.
-
Reapply Sealant: Reapply the protective sealant every year to maintain the wood’s integrity.
Conclusion
Building sauna benches might seem challenging, but with careful planning and the right materials, you can create a comfortable and durable seating area. Whether you prefer cedar, hemlock, or aspen, each type of wood has its own benefits. Remember to design with ergonomics and ventilation in mind, and follow the step-by-step guide to ensure a successful project. Happy building!
FAQs
1. What wood is best for sauna benches?
Cedar, hemlock, and aspen are all excellent choices for sauna benches due to their durability and resistance to moisture.
2. How do I maintain my sauna benches?
Regularly clean the benches, inspect for damage, and reapply a protective sealant annually.
3. Can I build multi-tier benches in a small sauna?
Yes, multi-tier benches can be built in small saunas, but careful planning is required to maximize space and comfort.
Seeking Expert Sauna Insights?
After countless sauna builds, extensive research, and meticulous consultations, we've distilled our expertise into a concise 28-page Sauna Masterclass. This guide demystifies the art of sauna creation, and it's available to you today at no cost.
Dive into our treasure trove of invaluable advice: from step-by-step building instructions to insider secrets honed over the years. Benefit from complimentary example floor plans, sidestep frequent mistakes, and uncover the optimal materials to transform timber into a sanctuary of warmth and tranquility.


Leave a comment