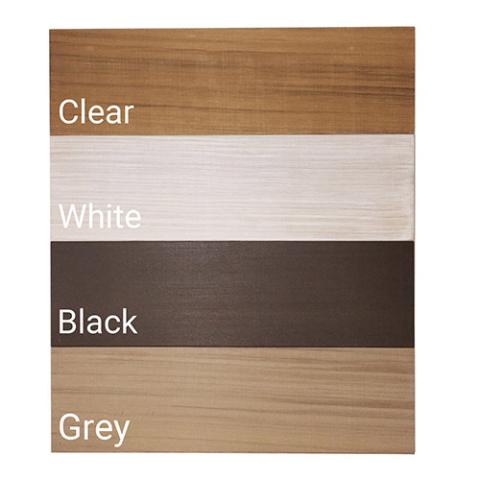
Creating a beautiful, durable sauna involves more than just construction; finishing the wood is a crucial step. In this guide, we'll explore the best practices for finishing sauna wood, ensuring it not only looks great but also stands the test of time.
Why Finish Sauna Wood?
Finishing the wood in your sauna is vital for several reasons:
-
Protection: It shields the wood from moisture, mold, and mildew.
-
Durability: Enhances the wood's ability to withstand high temperatures and humidity.
-
Aesthetics: Adds a polished, professional look to your sauna.
Choosing the Right Finish
The first step is selecting the appropriate finish. Not all wood finishes are suitable for the sauna environment. Here are some options:
1. Sauna-Safe Wood Oils
Oils penetrate the wood, offering protection without forming a surface layer that can become sticky or uncomfortable in high heat. Look for natural, non-toxic Paraffin Oil options like:
-
Scandia Sauna Wood Oil: Made from 100% natural ingredients, it provides excellent protection and enhances the wood's natural beauty.
-
Harvia Sauna Wood Paraffin Oil: This colorless paraffin oil will brighten the natural color of the interior wood while increasing its life span. It reduces the absorption of sweat, grime, and moisture to keep the sauna looking clean longer. Best to apply when sauna is new, but will also refresh old sauna wood.

2. Sauna-Safe Wood Wax
Sauna Wax protects and enhances the appearance of the wood surfaces inside your sauna. It is a protective coating, repelling moisture and preventing the wood from drying out or cracking due to high heat and humidity. Additionally, Sauna Wax can provide a more warm, elegant finish, highlighting the natural beauty of the wood.

Preparing the Wood
Preparation is key to achieving a smooth, long-lasting finish.
1. Sanding (optional)
Start by sanding the wood to remove any rough spots or imperfections. Use a fine-grit sandpaper (120-220 grit) for the best results.
2. Cleaning
Clean the wood thoroughly to remove any dust or debris from sanding. A damp cloth should suffice, but ensure the wood is completely dry before applying any finish. Consider using a high-quality sauna cleaner like the Steam Sauna Living Sauna Room Wood Cleaner for optimal results.
Applying the Finish
With your wood prepped and finish chosen, it’s time to apply.
Applying Oil
-
Step 1: Pour a small amount of oil onto a clean cloth.
-
Step 2: Rub the oil into the wood, following the grain.
-
Step 3: Let the oil penetrate the wood for 15-30 minutes.
-
Step 4: Wipe off any excess oil with a clean cloth.
-
Step 5: Allow the wood to dry completely, usually 24-48 hours, before using the sauna.
For a reliable and effective wood oil, check out the Scandia Sauna Wood Oil or the Harvia Sauna Wood Paraffin Oil.
Maintenance Tips
To keep your sauna looking and performing its best:
-
Regular Cleaning: Wipe down the wood after each use to remove moisture and prevent mold. Consider using Sauna Cleaners for effective maintenance.
-
Reapplication: Reapply oil or other finishes every 6-12 months, depending on usage.
-
Inspect for Damage: Regularly check for any signs of wear or damage and address promptly.
FAQs
Q: How often should I reapply the finish to my sauna wood? A: Generally, you should reapply every 6-12 months, depending on how often you use the sauna.
Q: Can I use any wood finish for my sauna? A: No, it’s essential to use finishes specifically designed for the high heat and humidity of a sauna.
Q: What type of wood is best for a sauna? A: Cedar and aspen are popular choices due to their natural resistance to moisture and heat.
Final Thoughts
Finishing the wood in your sauna not only enhances its appearance but also extends its lifespan. By choosing the right products and applying them correctly, you can enjoy a beautiful, durable sauna for years to come. Don't forget to check out the Sauna Cleaners and Sauna Wood Oils available at Havenly to keep your sauna in top-notch condition.


Leave a comment