Thinking about converting your shed into a cozy sauna? Our comprehensive guide will walk you through every step of the process, from insulation to heating options, ensuring you create the perfect backyard retreat. Ready to transform your shed into a personal oasis? Let's dive in!
Why Convert Your Shed into a Sauna?
Converting a shed into a sauna is an excellent way to utilize unused space, enhance your property, and create a personal wellness sanctuary. Saunas offer numerous health benefits, including stress reduction, improved circulation, and detoxification. Plus, having a sauna in your backyard means you can enjoy these benefits anytime without leaving home.

Planning Your Shed to Sauna Conversion
Assess Your Shed
Before you start, evaluate your shed's condition. Ensure it's structurally sound, weatherproof, and spacious enough to accommodate a sauna. Ideally, your shed should be at least 6 feet by 6 feet to comfortably fit a small sauna.
Gather Necessary Permits
Check with your local municipality regarding any necessary permits. Some areas require permits for electrical work, structural changes, or adding a sauna.
Design Your Layout
Sketch out your sauna layout, including seating arrangements, heater placement, and door location. Keep in mind that saunas typically have two levels of benches to accommodate varying heat preferences. If you need help designing the layout of your sauna we have a 100% free sauna design service you can utilize as well as free sauna layouts you can explore here.

Materials and Tools You'll Need
- Insulation (fiberglass or foam)
-
Vapor barrier (foil or plastic sheeting)
-
Wood for interior (aspen, cedar, alder, spruce, pine, or hemlock)
-
Sauna heater (electric, wood-burning, or infrared)
-
Stones for the heater
-
Sauna door (glass or wood)
-
Ventilation system
-
Thermometer and hygrometer
-
Lighting (optional)
- Screws, nails, and basic tools (hammer, screwdriver, saw)

Step-by-Step Guide to Shed to Sauna Conversion
1. Insulate the Shed
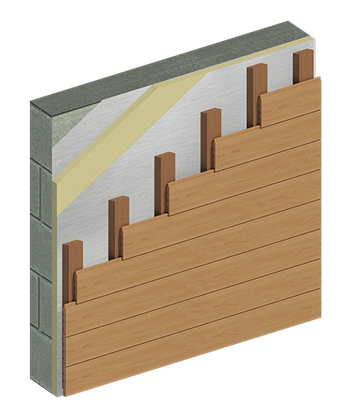
Proper insulation is crucial for retaining heat. Use fiberglass or foam insulation to line the walls, ceiling, and floor. Seal the insulation with a vapor barrier to prevent moisture buildup, which can damage the structure over time.

2. Install the Interior Wood Paneling
Line the interior with wood paneling, preferably thermo-aspen, alder, cedar or hemlock, which are resistant to high temperatures and moisture. These woods also provide a pleasant aroma when heated. Nail or screw the panels into place, ensuring they are tightly fitted to avoid gaps.
3. Set Up Ventilation
Proper ventilation is essential for maintaining air quality and controlling humidity. Install an intake vent near the floor and an exhaust vent near the ceiling. This setup allows fresh air to circulate and helps regulate temperature and humidity levels inside the sauna.

4. Choose and Install Your Heater
Electric Heater
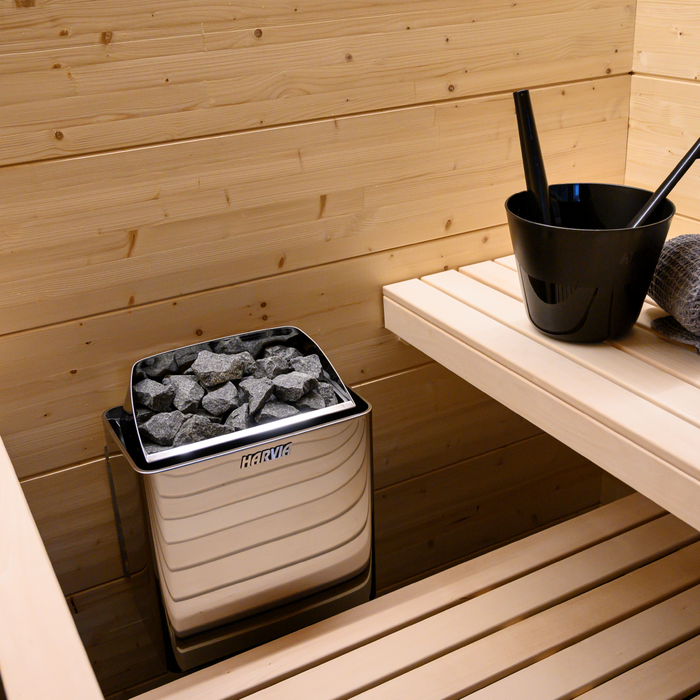
An electric heater is the most common choice for home saunas due to its ease of use and installation. Follow the manufacturer’s instructions for wiring and mounting the heater. Place sauna stones on top to help distribute heat evenly.
Wood-Burning Stove
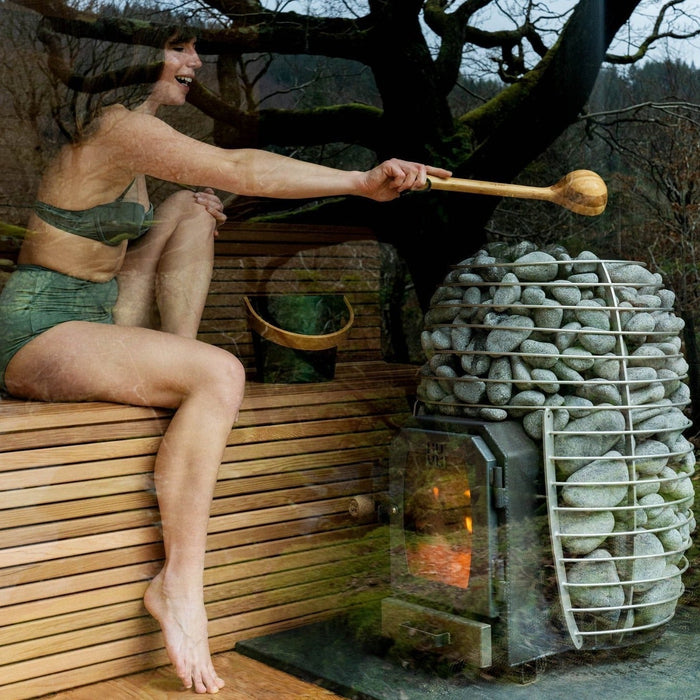
For a more traditional sauna experience, consider a wood-burning stove. Ensure proper ventilation for smoke and ash, and follow local regulations for installation. You'll need a chimney to vent the smoke outside.
Infrared Panels
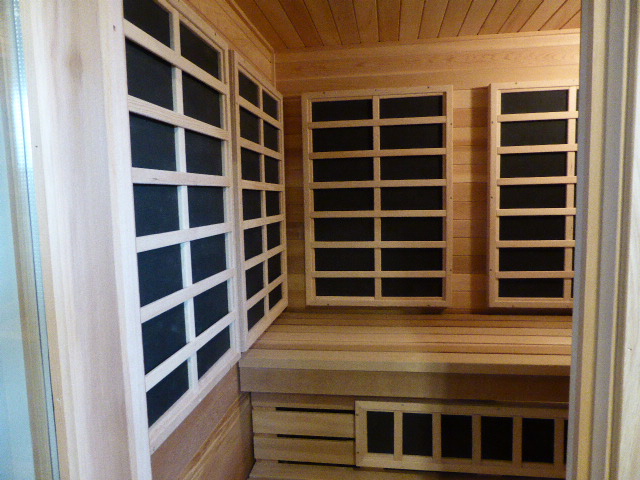
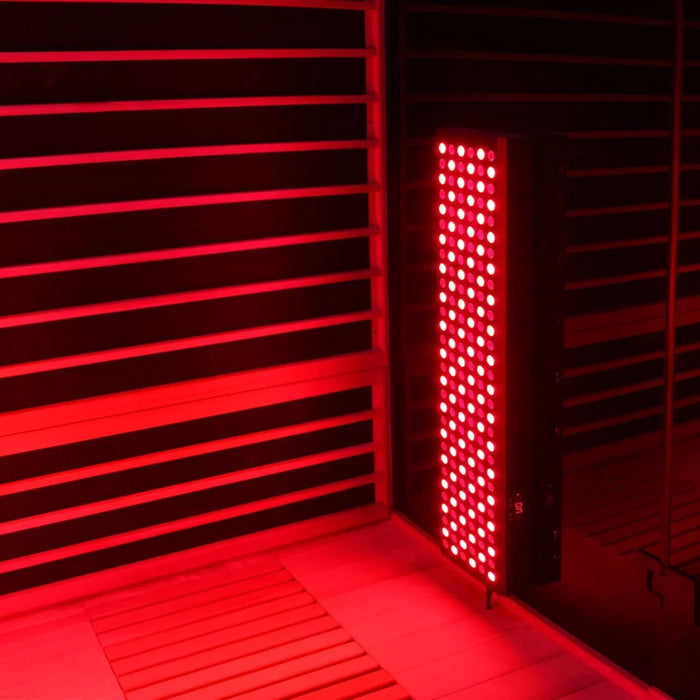
Infrared saunas use radiant heat, which heats the body directly rather than the air. Install the panels according to the manufacturer’s guidelines, ensuring they are evenly spaced to provide uniform heat. You can pair infrared panels with traditional sauna stoves for a hybrid sauna experience.
5. Install the Sauna Door
Install a sauna door that retains heat while allowing easy access. Glass doors are popular as they create a more open feel, but wooden doors are also effective. Ensure the door seals tightly to maintain heat levels inside the sauna.

6. Add Benches
Construct benches using the same type of wood as your paneling. Build two levels of benches to accommodate different temperature preferences. Ensure the benches are sturdy and can comfortably support weight.

7. Lighting and Accessories
Add sauna-safe lighting if desired, ensuring it can withstand high temperatures and humidity. Install a thermometer and hygrometer to monitor temperature and humidity levels. Other optional accessories include a bucket and ladle for pouring water over hot stones, a sauna headrest, and a towel rack.

Safety Tips
-
Ventilation: Ensure your sauna has proper ventilation to prevent overheating and maintain air quality.
-
Fire Safety: If using a wood-burning stove, keep a fire extinguisher nearby and regularly clean the chimney to prevent fire hazards.
-
Electrical Safety: Hire a professional electrician for any wiring tasks to ensure safety and compliance with local codes.
-
Regular Maintenance: Inspect and maintain your sauna regularly to ensure it remains in good condition and safe to use.
Enjoy Your New Sauna
Once everything is installed and checked, it’s time to enjoy your new sauna. Start with shorter sessions to acclimate to the heat, and stay hydrated by drinking plenty of water before and after your sauna experience.
FAQs
How much does it cost to convert a shed into a sauna?
The cost can vary widely depending on the materials and heater type you choose. On average, expect to spend between $5,000 and $15,000.
How long does it take to convert a shed into a sauna?
The project can take anywhere from a weekend to several weeks, depending on your DIY skills and the complexity of the conversion.
Can any shed be converted into a sauna?
Most sheds can be converted, provided they are structurally sound and have enough space. However, metal sheds are not ideal due to poor insulation properties.
Do I need a professional to help with the conversion?
While many aspects of the conversion can be DIY, it's advisable to hire professionals for electrical work and ensuring proper ventilation and insulation.
What type of wood is best for sauna construction?
Thermo-Aspen, Cedar, Alder, and Hemlock are popular choices due to their resistance to high heat and moisture, as well as their pleasant aroma.
Final Thoughts
Converting a shed into a sauna is a rewarding project that can enhance your property and well-being. By following this guide, you’ll be well on your way to creating a relaxing retreat in your own backyard. Enjoy the numerous health benefits and the luxury of having your own personal sauna.


Leave a comment