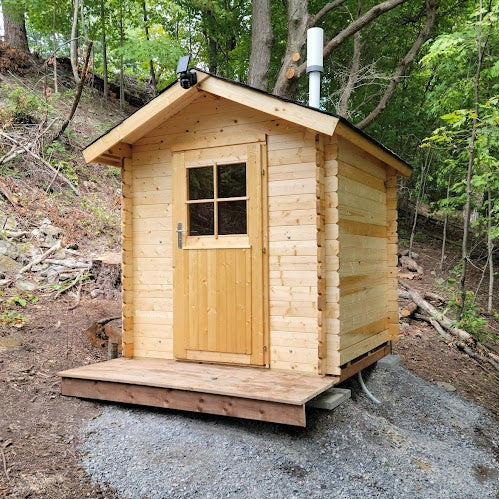


Bunkie Life™ Chalet Cabin Kit with Large Front Overhang | 105 ft²
Save 10%
Original price
$16,555.55
Original price
$16,555.55
-
Original price
$16,555.55
Original price
$16,555.55
Current price
$14,900.00
+
Free Shipping
$14,900.00
-
$14,900.00
Current price
$14,900.00
OR
✓ FREE Shipping Until 4/30 ($2000 Savings)
✓ No Sales Tax
✓ Lowest Price Guaranteed
✓ Lifetime Customer Support 360-233-2867

 Chat Now
 360-233-2867
In stock, ready to ship (delivery to you in 2-3 weeks)